
Click or Press enter to Enter to Enable skip content option
Please Select a Section to Skip to
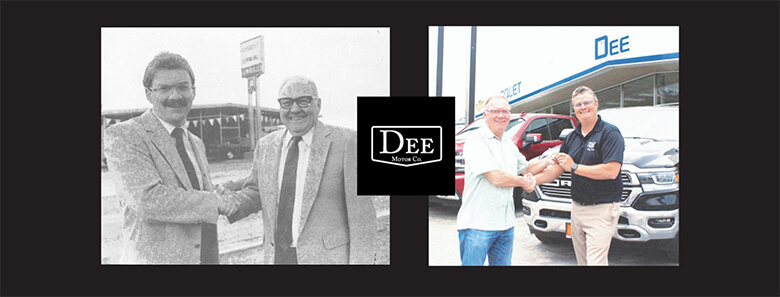

Simple values provided a foundation for Leonard Dee when he went into business 74 years ago. He built Dee Motor Co. on customer respect, lasting relationships and community commitment.
Today, both the dealership and business philosophy remain strong. Founded during Anaconda’s copper-smelting heyday, Dee Motor Co. was once one of 13 car dealerships. It is the only one of them remaining in business today.
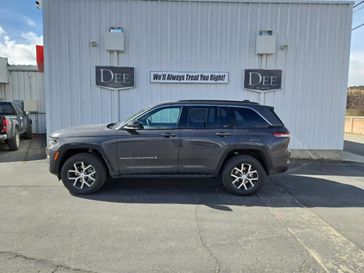
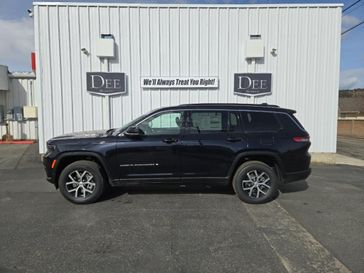
Welcome to Dee Motor Company in Anaconda Serving Southwest Montana customers. Your Anaconda, Dillon & Deer Lodge Chrysler, Jeep, Dodge & Ram Source!
We are one of the top car dealers in Anaconda. Dee Motor Company near Anaconda, Dillon & Deer Lodge and surrounding communities is here to serve you with a full line of Chrysler, Jeep, Dodge & Ram vehicles. Dee Motor Company also serves customers from Salmon, ID, Twin Bridges, Whitehall and Philipsburg. We take pride in helping our customers to find the one that's right for them. Whether you're looking for a new or used car, our sales team can help with its no-pressure philosophy. The friendly staff at Dee Motor Company in Anaconda will make your Chrysler, Jeep, Dodge & Ram vehicle buying experience efficient and stress-free. Call us today to schedule a test drive.
Dee Motor Company has been serving as your trusted Anaconda, Deer Lodge, Dillon & the Philipsburg area Chrysler, Jeep, Dodge & Ram dealer with professional sales and service for many years – all from our Anaconda auto dealership location. We have a great selection of vans, truck, suvs and passenger cars. Our expert sales staff can also help with financing options.
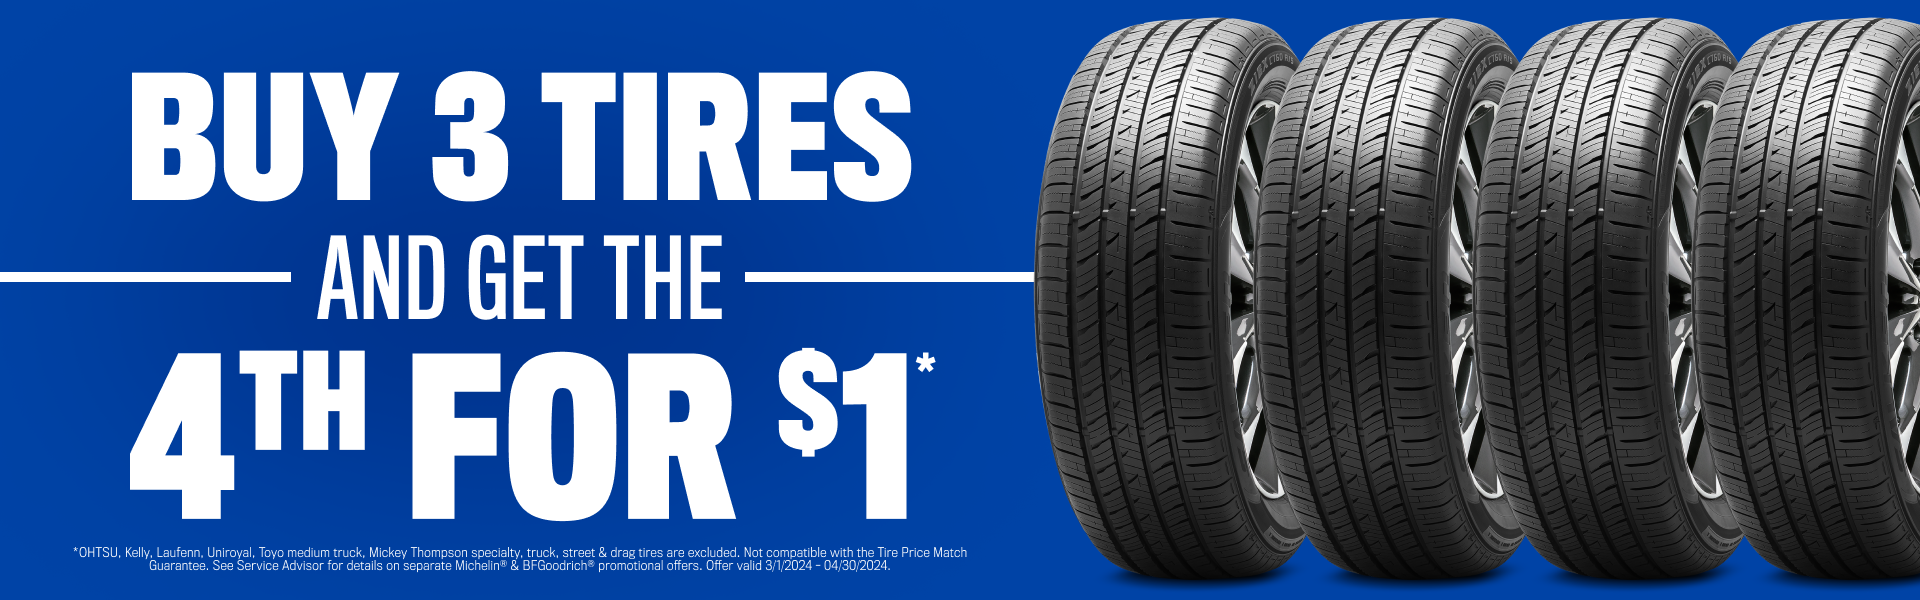
Our award winning service and parts department at Dee Motor Company is where you want to get your Chrysler, Jeep, Dodge & Ram serviced in the Anaconda, MT area. From our online service appointment and parts order forms to our service specials, we have the resources to be your place for automobile service in Anaconda. In addition, our body shop is here to help you get back on the road after an accident, big or small. Is it time to schedule maintenance for your Chrysler, Jeep, Dodge & Ram? Bring your vehicle into your trusted auto dealer in Anaconda, Montana.
New & Used Dealer in Anaconda, MT – Dee Motor Company
Whether you are looking for a luxurious and roomy used SUV, an economical used car for your daily commute, a used van that can comfortably seat your whole family, or a rugged and reliable used truck that can handle anything you throw at it, you’ll find what you’re looking for at Dee Motor Company. We are not just your Anaconda, Dillon and Deer Lodge area source of new Chrysler, Jeep, Dodge & Ram cars, trucks, and SUVs; our used car lot in Anaconda, MT has high quality used vehicles of all makes. Anaconda, MT. Our customers have been coming to us for years because of our commitment to customer service and because of our superior selection; we are proud to extend these same values to all our used car customers.
While great effort is made to ensure the accuracy of the information on this site, errors can occur. Please verify all pricing information with a customer service representative. This is easily done by calling us or visiting us at the dealership.
Customer may not qualify for ALL Rebates shown. Some rebates are stackable and others can and cannot be combined. See Dealer For Complete Details.
Save your favorite vehicles for later viewing on your desktop or mobile devices.
Keep track of all the vehicles you've viewed for a better car shopping experience.
Narrow your search by comparing your favorite vehicles.